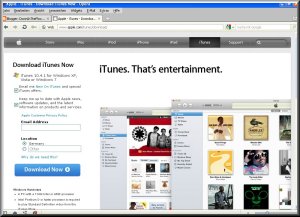
before i start working with iTunes i visit the download section of Apple - iTunes. this can be found at this link: http://www.apple.com/itunes/download/. generally iTunes will automatically detect my operating system as well as my location & recommend a download for such:
 (i usually untick the fields Email me ... & Keep me up to date ...)
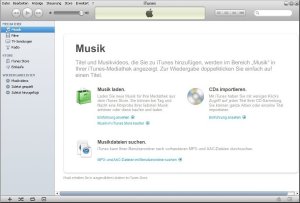
 once i downloaded Apple - iTunes & start the installation, this will include Apple - QuickTime & a program that will keep my iTunes version up to date. for this the iTunes program will inform me from time to time that a new iTunes version is available & gives me the choice to install the update now or at a later stage.
here are some examples (with images in german) of how i work with iTunes:
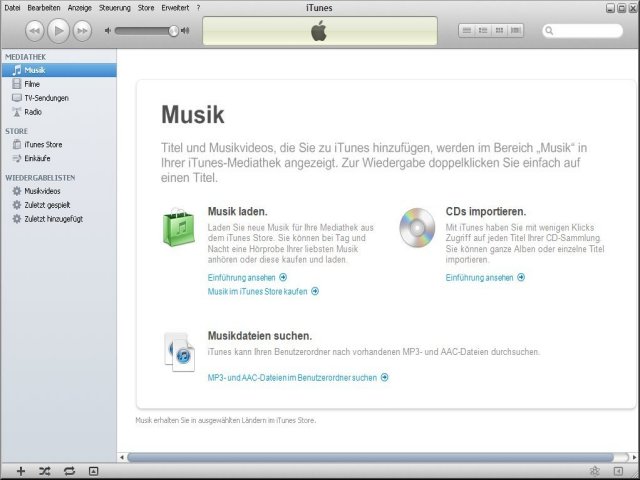
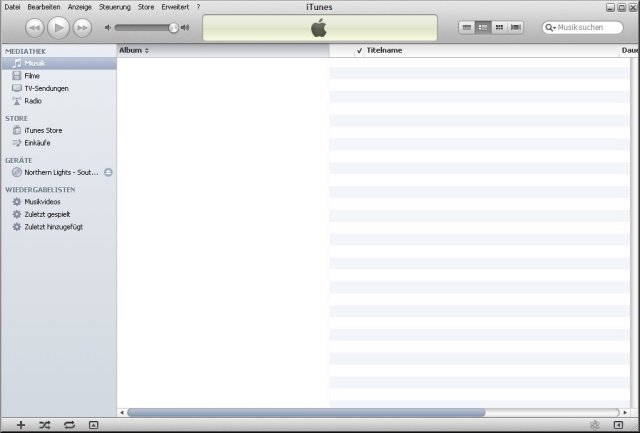
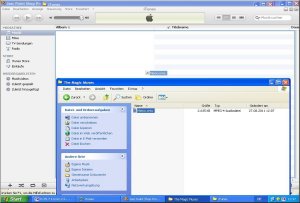
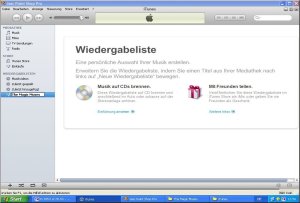
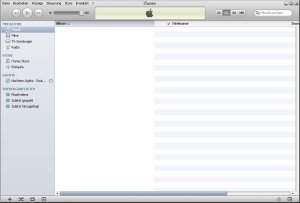
once i start iTunes the initial screen looks like this (click on the thumbnail to view larger image):
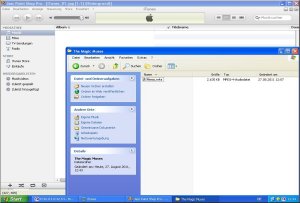
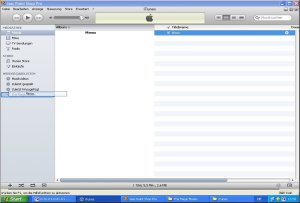
 in the next step i open a folder containing a music file to drag onto the iTunes screen:
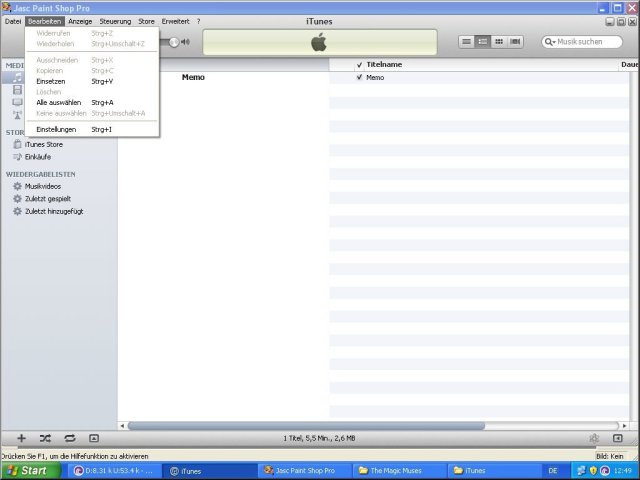
 the music file now shows on my iTunes music player (this file has the m4a file extension & i want to convert this file to mp3). the next few images show how to set the kbit/s value for the mp3 conversion:
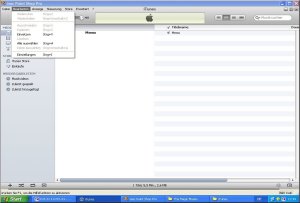
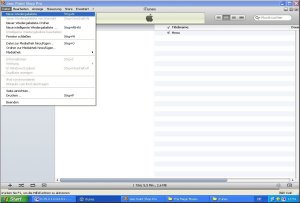
select edit
the music file now shows on my iTunes music player (this file has the m4a file extension & i want to convert this file to mp3). the next few images show how to set the kbit/s value for the mp3 conversion:
select edit
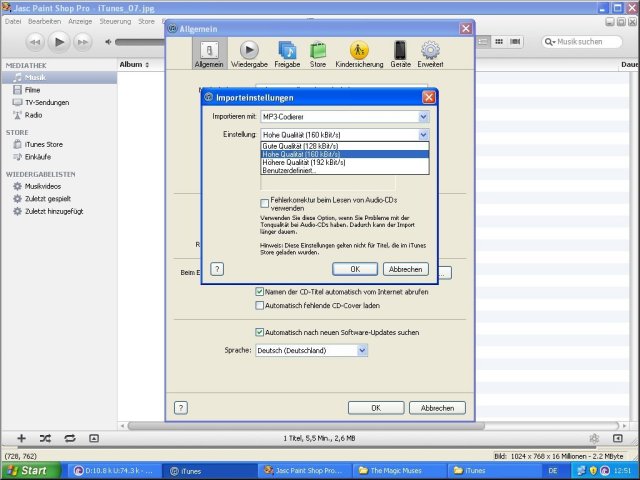
 select preferences
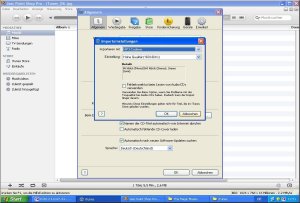
 select import settings
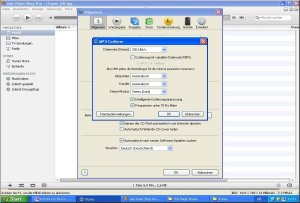
 select a pre-defined or user-defined value
 select the desired value from the drop-down menu
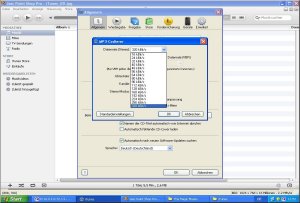
 if i select user-defined, i can select other kbit/s values than the ones pre-defined from the drop-down menu
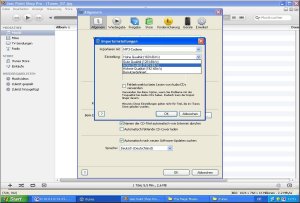
 the image below shows the kbit/s values available from this drop-down menu
 make the selection & click OK
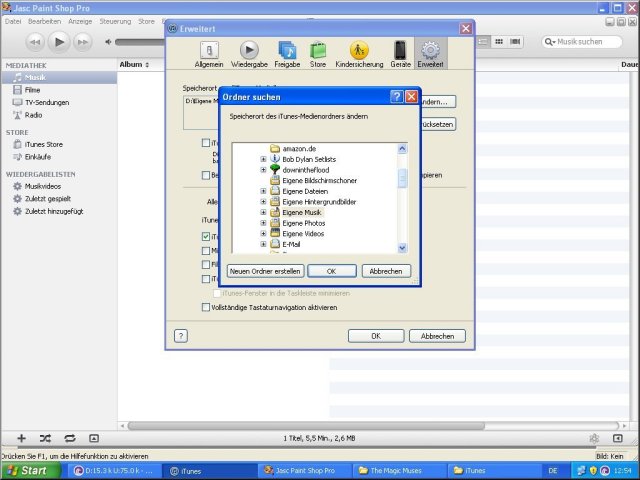
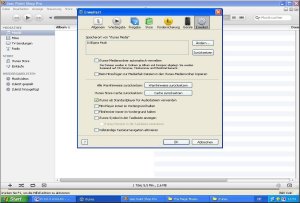
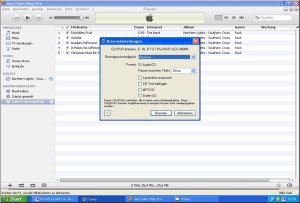
 while the first steps used the general tab from the preferences selection, for the next step i click the advanced tab. in order to know where my mp3 files will be stored i need to set the default folder for those files as shown in the examples below:
select change
while the first steps used the general tab from the preferences selection, for the next step i click the advanced tab. in order to know where my mp3 files will be stored i need to set the default folder for those files as shown in the examples below:
select change
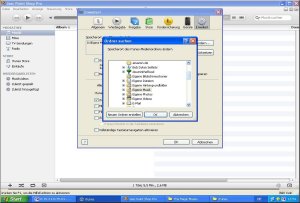
 select a folder from the drop-down menu
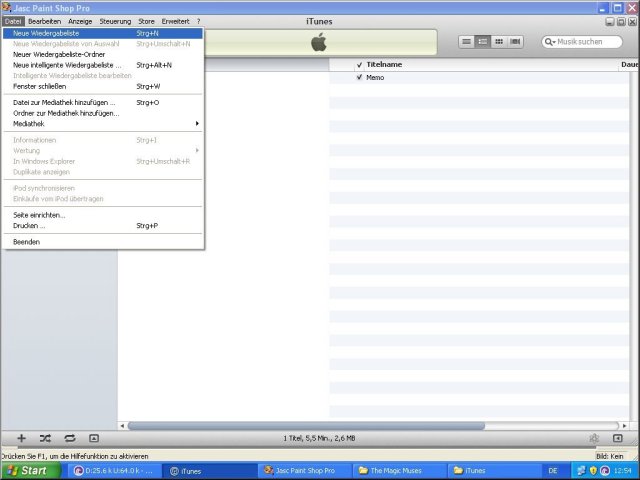
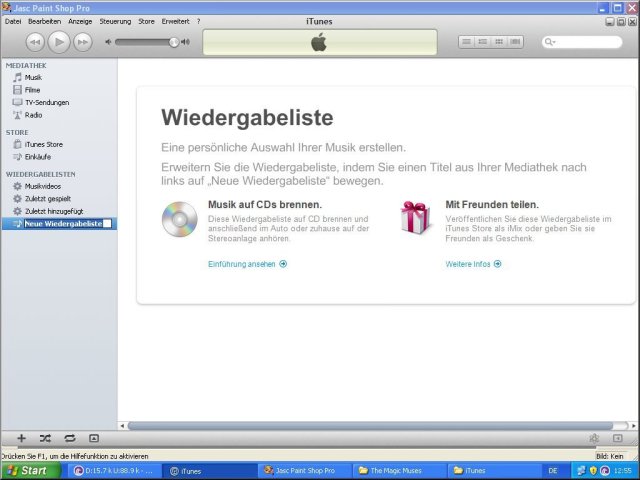
 now i shall create a playlist:
select file --> new playlist
now i shall create a playlist:
select file --> new playlist
 among the playlist menu a new playlist will show & i have the choice to ...
 edit the playlist name
 i click the music folder at the top & drag my music file to my new playlist for further processing:
 if i wish to burn music to a mp3 or audio CD, i can only do so from a playlist. this can also be the playlist named recently added, it doesn't have to be the new playlist i just created.
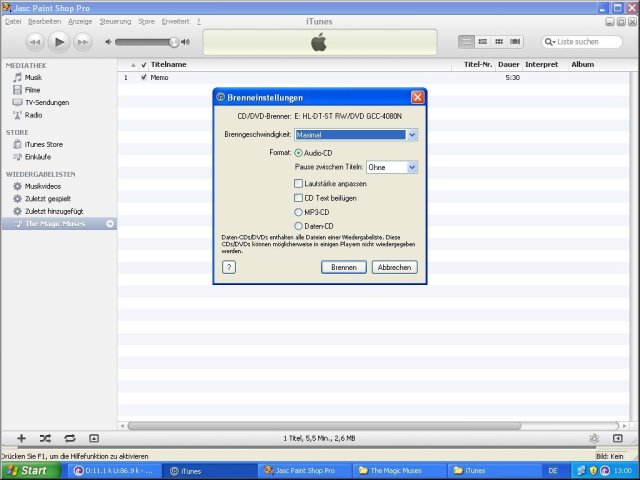
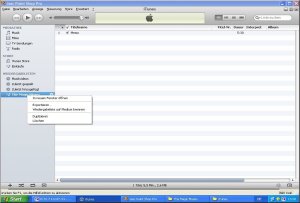
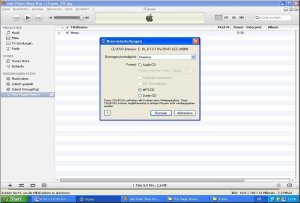
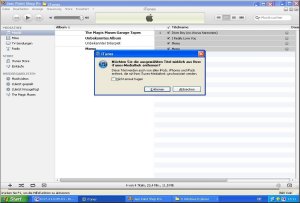
in order to start the burn process i right-click on the playlist i wish to transfer to a CD & select burn playlist to medium from the drop-down menu
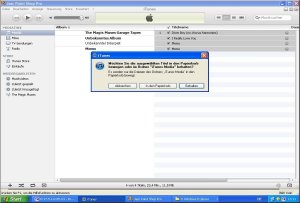
 with the next step iTunes asks me if i wish to create a mp3 or audio CD
 for my example i select mp3 CD. iTunes then checks the playlist to see if all the songs will fit onto the CD, else display a message, or if the CD is writeable & blank.
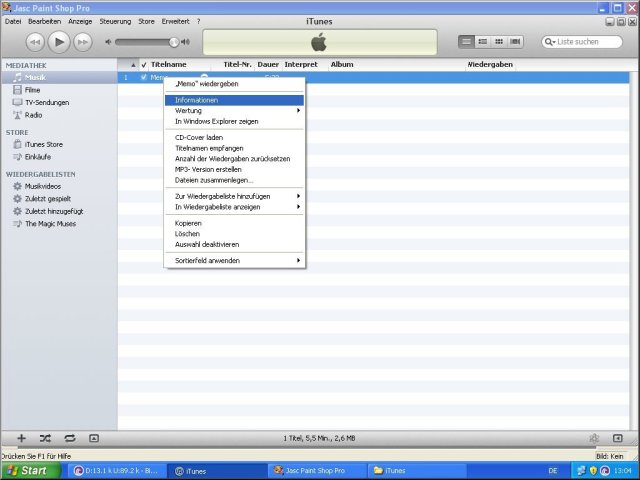
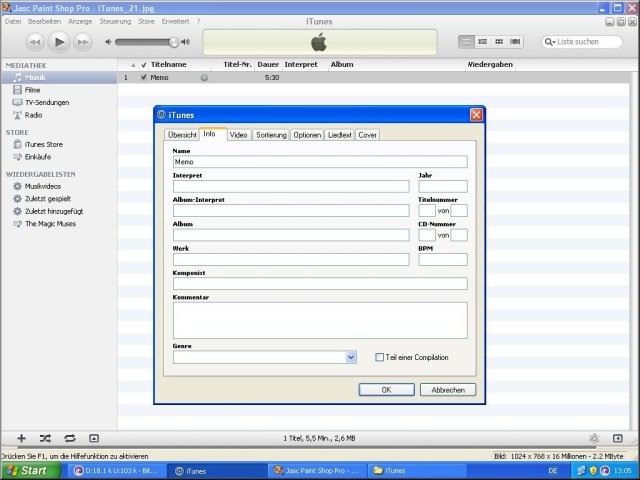
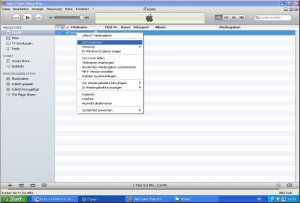
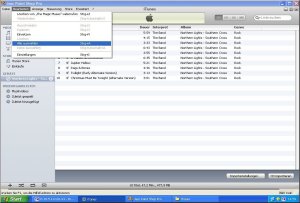
 to view or change the information of a music file i highlight the track/s & right-click. then i select information from the menu. in case of more than one track it will ask if i want to change the information for more than one track.
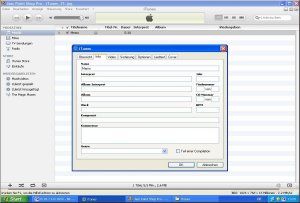
 once i confirmed iTunes will display the available ID3-tags i may be able to alter or change.
 after i changed the track information iTunes will display the changes for each track and/or album.
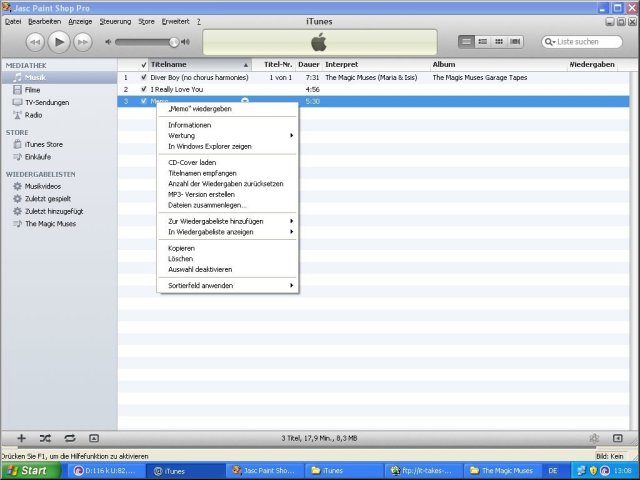
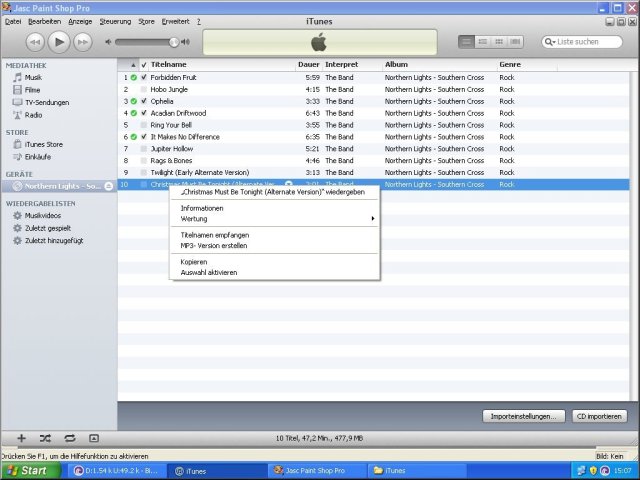
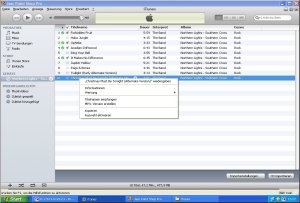
 to convert a track to the mp3 format i have pre-set (as described above), i mark the track, right-click & select create mp3 version from the menu.
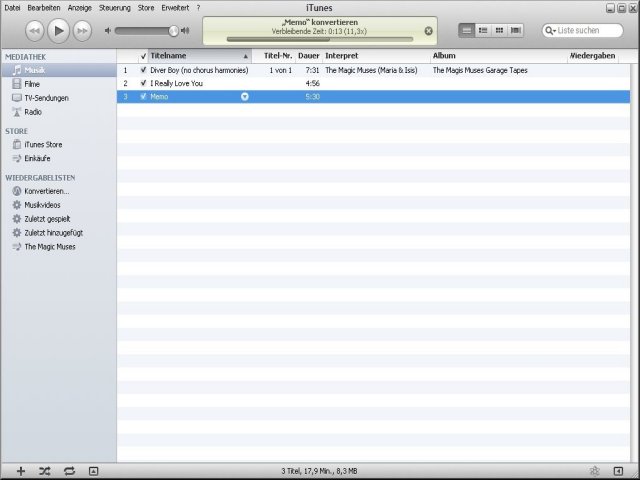
 now iTunes converts the song to mp3 & stores the file in my iTunes folder. i can follow the progression of the conversion on the screen.
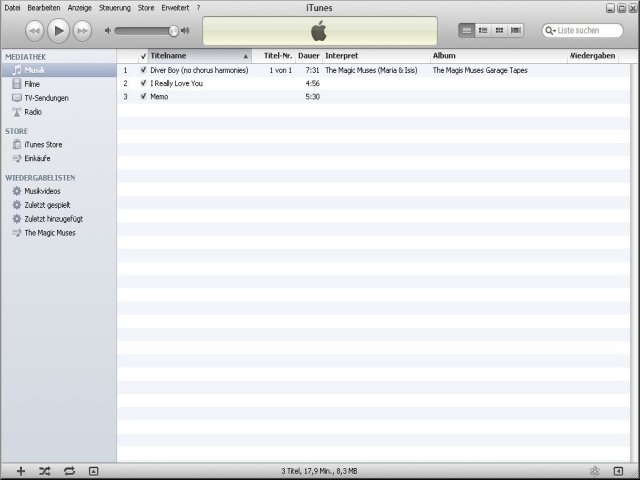
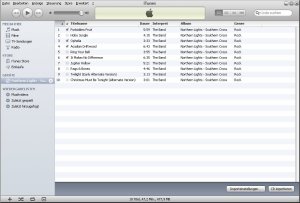
 then i can click the music tab on the menu at the left. the song appears there twice. one file is my original, the second one is the mp3 file i just created.
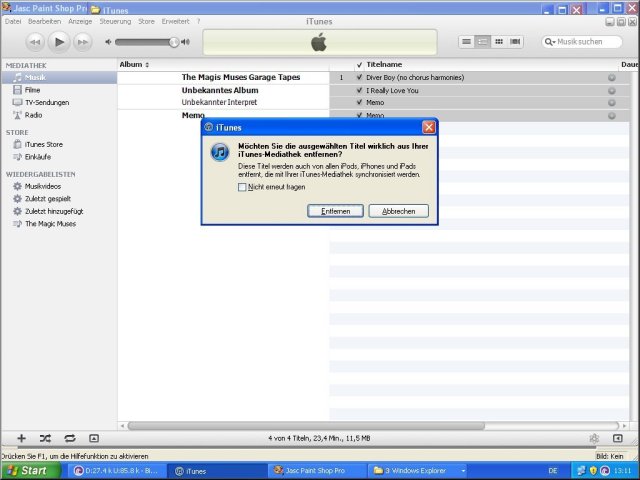
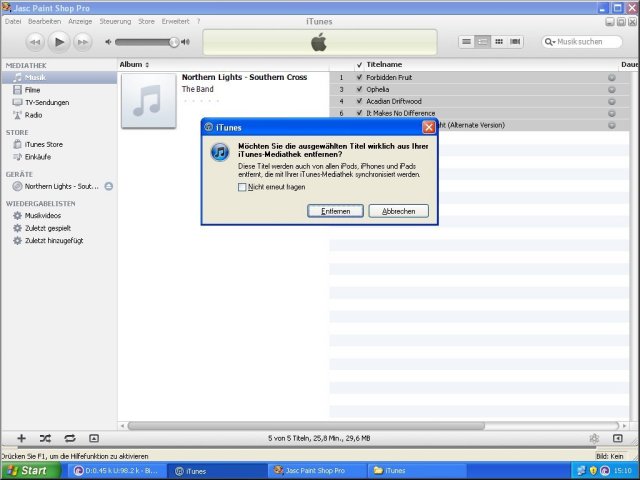
 if i want to remove the files from the player i highlight the songs i wish to remove & press delete. iTunes then asks me if i really want to remove the files from the mediathek, which i confirm.
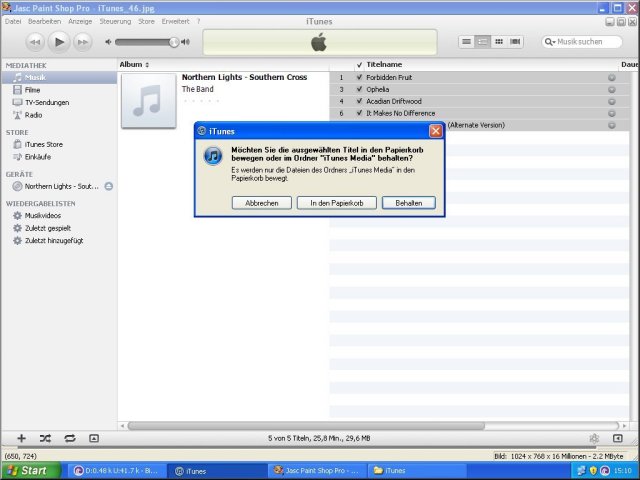
 should the files also be stored in my default iTunes folder the program asks me if i want to move the files to the wastebin, in this case i select the button to keep the files.
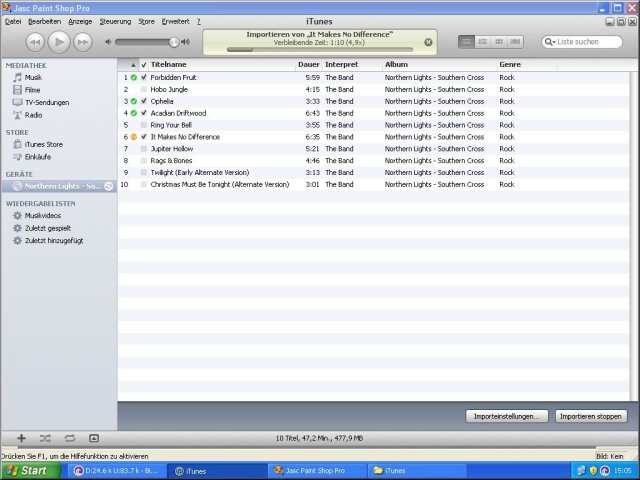
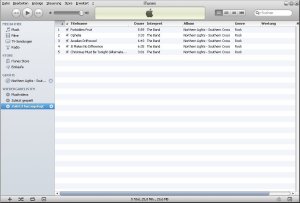
 for my next example i have inserted a audio CD into my CD/DVD-drive. iTunes now connecs with the Gracenote Database to search for the album & tracks details.
 once the search has been completed the program asks me if i wish to add the CD to my mediathek. in general i select no since i first wish to check my default settings as described above.
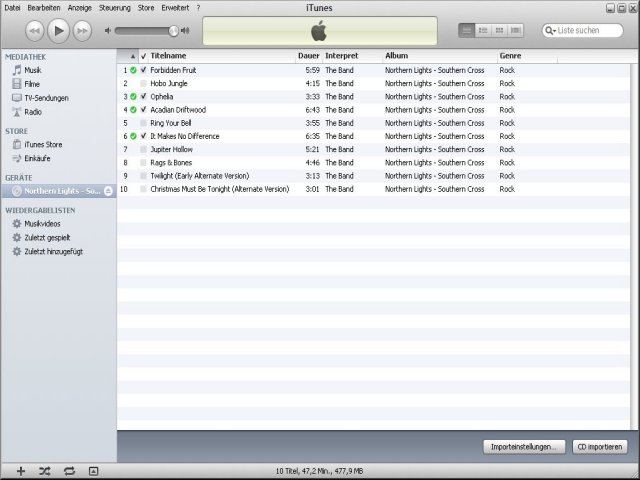
 now my CD/DVD-drive is also listed in the menu on the left with the album title. the track details are listed on the right. sometimes it happens that the name of a track is spelled incorrectly, i can still correct it here (as described above).
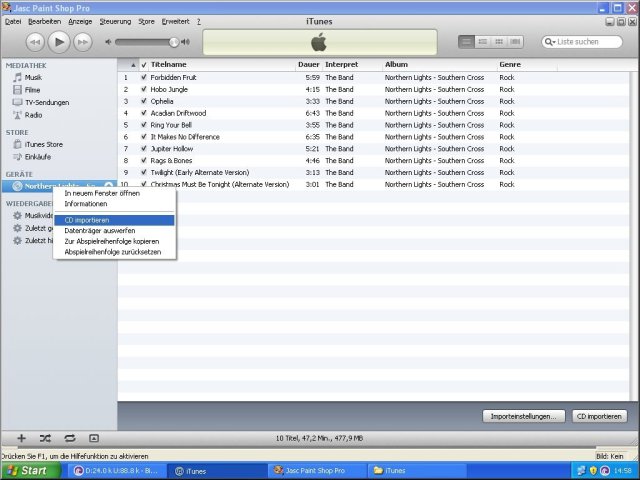
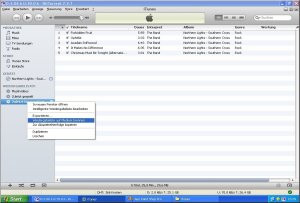
 if i wish to convert the CD to mp3 i can either right-click on the CD title & select import CD or alternatively simply click the import CD button at the bottom right side of the player.
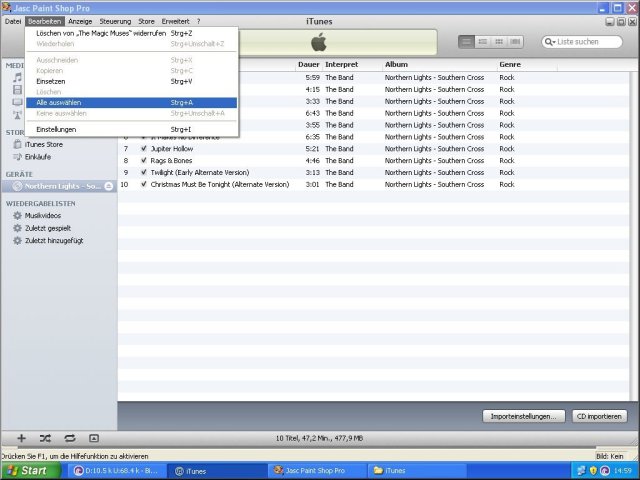
 to select all the songs of the CD for some reason i can click the edit tab at the top menu, then click select all.
 i have decided that i don't want to import all the songs from the CD, but only a few. again i click the edit tab at the top menu & click select none from the menu.
 now i tick the check box to the left of the titlename for those songs i do wish to convert to mp3 ...
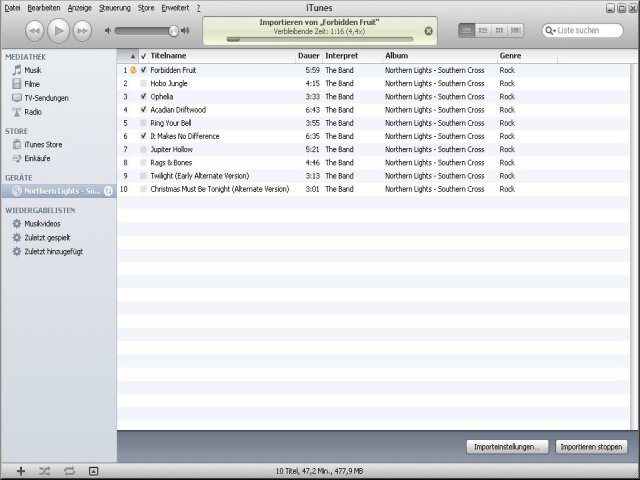
 and click the import CD button at the bottom right side of the player. the progression of the conversion is displayed in the field above the track details. in addition an orange symbol shows next to the track currently being converted.
 once the conversion of a track is completed a green symbol is being displayed next to the track.
 after all my selected tracks have been converted a green symbol is being displayed next to each converted track & a sound rings to draw my attention to the completion.
 should i wish to convert another track i can simply right-click that track & select create mp3 version from the menu.
 again the progression of the conversion can be followed as detailed above.
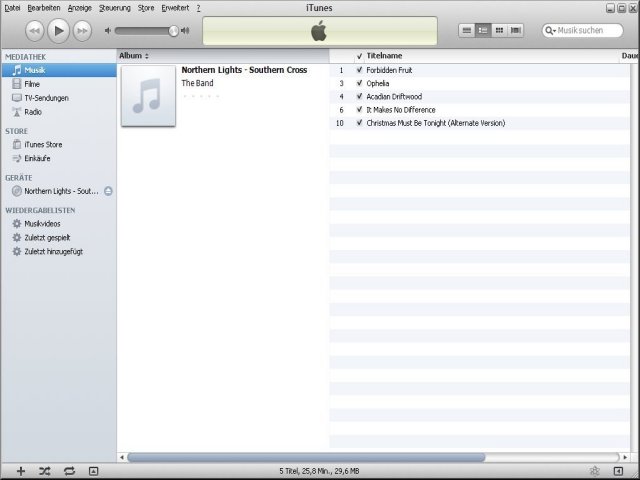
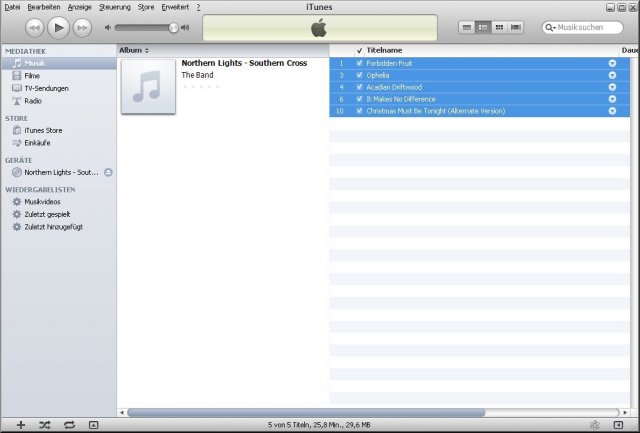
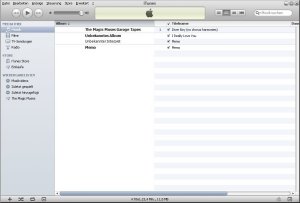
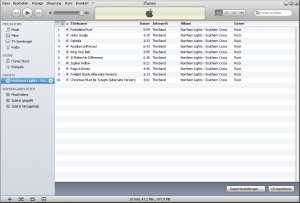
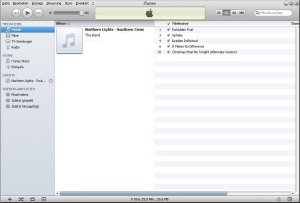
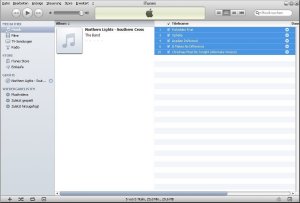
 when i now click the music tab on the left menu again iTunes will display the album title with only the converted tracks.
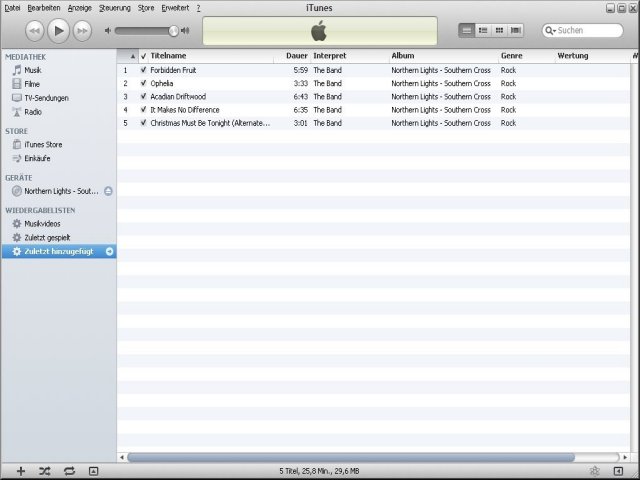
 if i click the playlist recently added on the left menu it will also display the converted tracks ...
 & i have the choice to burn these tracks onto a CD (audio or mp3).
 again i click the music tab on the menu at the left to see the all music files currently still shown with my player. if i want to remove the files from the player i highlight the songs i wish to remove & press delete. iTunes then asks me if i really want to remove the files from the mediathek, which i confirm.
 should the files also be stored in my default iTunes folder the program asks me if i want to move the files to the wastebin, in this case i select the button to keep the files.
 now iTunes shows only the CD that is still in my CD/DVD-drive.
 this is just a relatively brief overview about some iTunes features. what i haven't shown here is that if a track has been renamed or deleted & i wish to play it an exclamation mark shows up to the left of the titlename, which means that the file could not be found.
Hope you enjoy your time using
iTunes!
tom.paine